|
|
| (16 intermediate revisions by the same user not shown) |
| Line 1: |
Line 1: |
|
| |
| {{Infobox Monster | | {{Infobox Monster |
| |name = Nex | | |name = Nex |
| Line 8: |
Line 7: |
| |size = 3 | | |size = 3 |
| |examine = Even the gods fear her. | | |examine = Even the gods fear her. |
| |max hit = 33 (Magic), 30 (Ranged), 30 (Melee) | | |max hit = 33 (Magic), 30 (Melee) |
| |aggressive = No | | |aggressive = No |
| |poisonous = No | | |poisonous = No |
| Line 33: |
Line 32: |
| |id = 11278,11279,11280,11281,11282 | | |id = 11278,11279,11280,11281,11282 |
| }} | | }} |
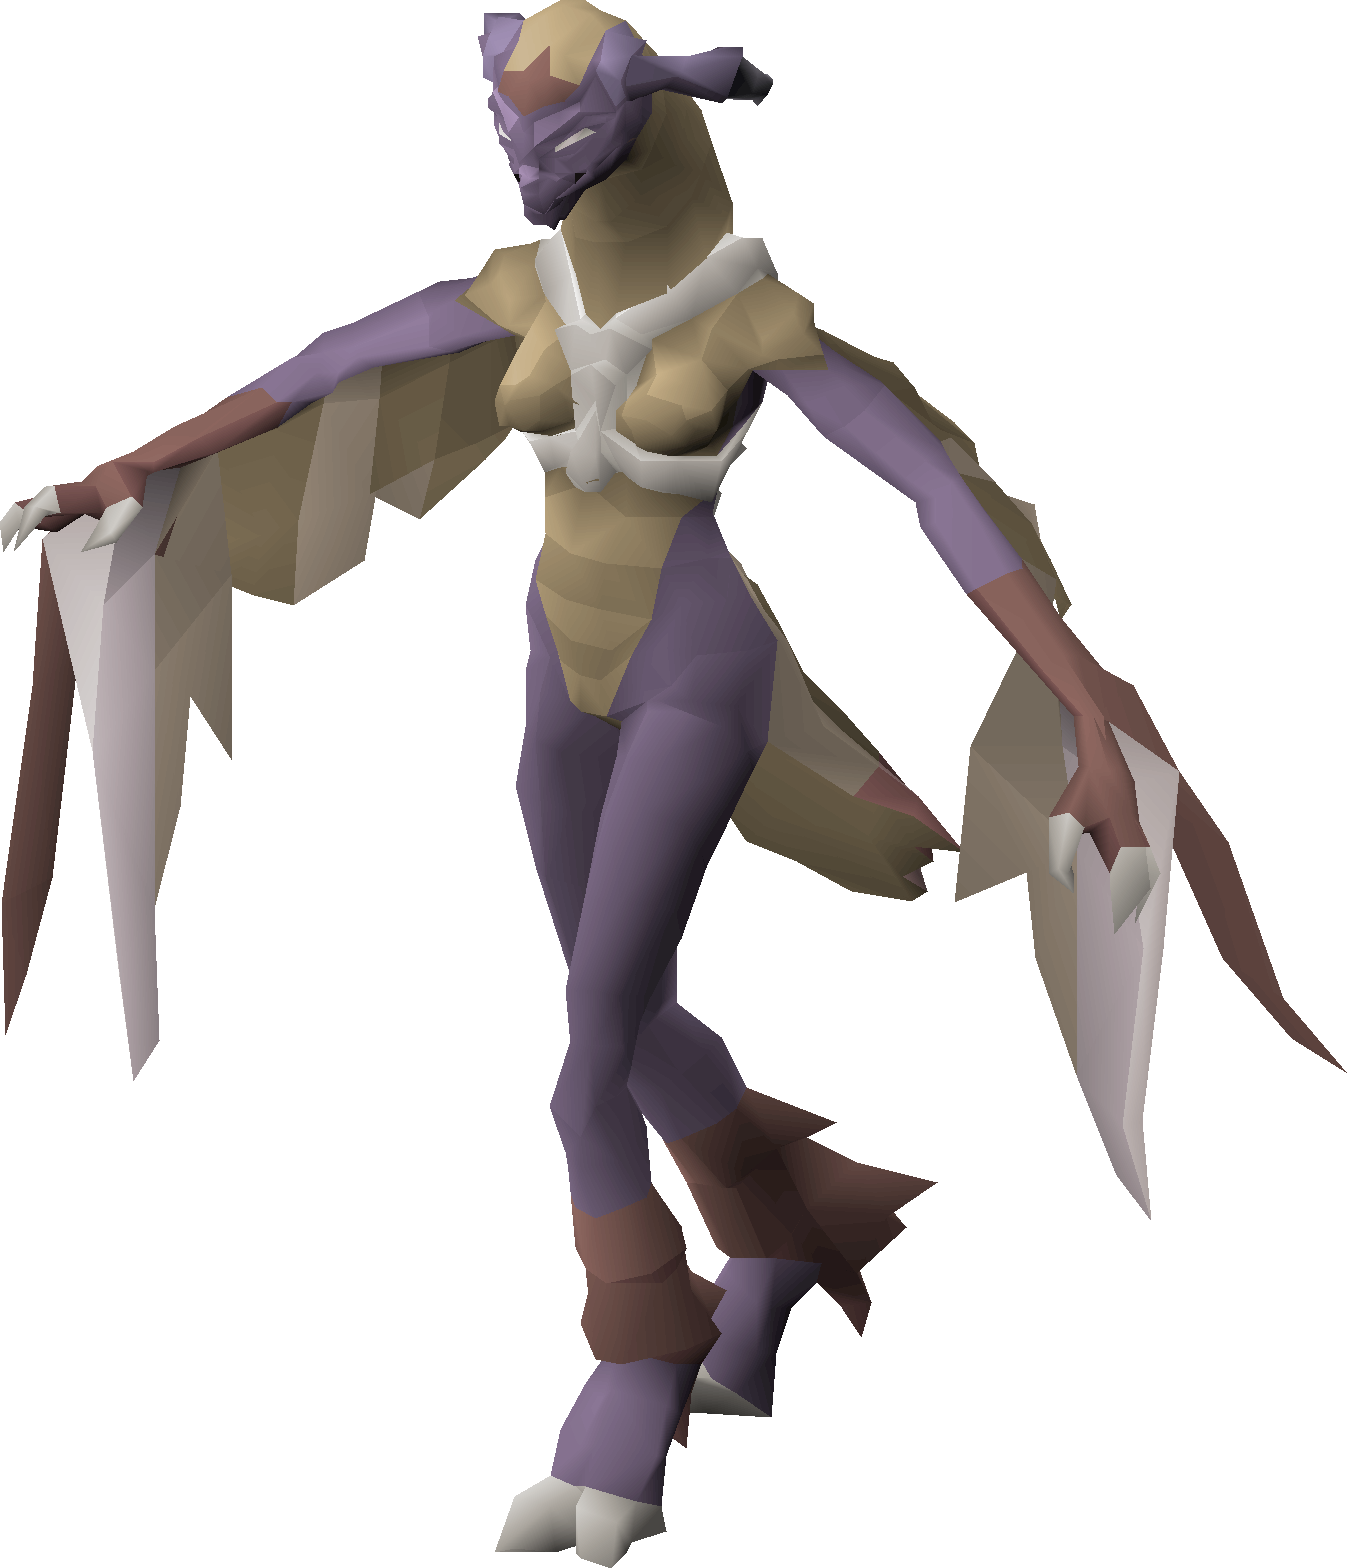
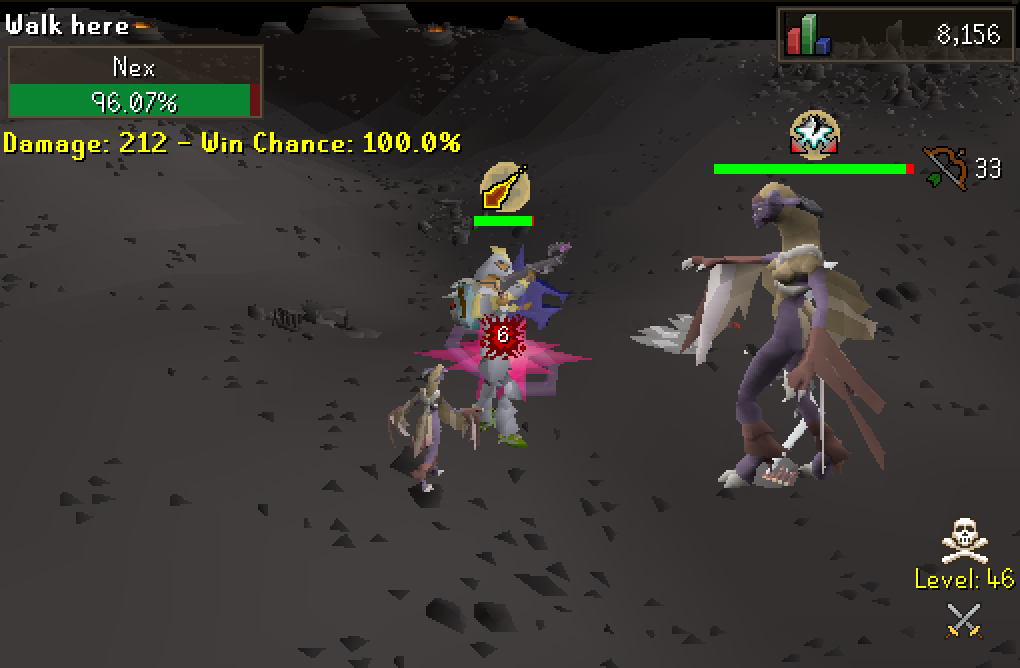
| The '''Nex''' boss is available in 2 [[wilderness]] locations, one in multi combat and another one single combat. Both of them have the same drop table, and same attacks (final nex phase). | | The '''Nex''' boss is available in 3 [[wilderness]] locations, one in multi combat and another one single combat and the last one in the [[Royal Donator Zone]]. All of them have the same drop table, and same attacks (final nex phase). |
|
| |
|
| Keep in mind that the Nex boss is extremely difficult to challenge and it's levels (excluding hitpoints) raise based on the total number of attackers.
| |
|
| |
|
| There are semi-direct teleports to the boss via the Teleport Wizard. (::nexmulti & ::nex) | | Keep in mind that the Nex boss is extremely difficult to challenge and it's levels raise based on the total number of attackers. |
| | There are semi-direct teleports to the boss via the Teleport Wizard. (::nexmulti, ::nex and ::royal) |
|
| |
|
|
| |
|
|
| |
|
| ==Locations== | | ==Locations== |
| {| class="wikitable sortable" | | {{LocationHead}} |
| !Location
| |
| !Level
| |
| !Donator
| |
| !Multi/Single
| |
| |-
| |
| | [[Royal Donator Zone]] | | | [[Royal Donator Zone]] |
| |<center>470</center> | | |<center>470</center> |
| |{{donator|royal}} | | |{{donator|royal}} |
| | | | |{{SinglesPlus}} |
| |- | | |- |
| |West of [[Wilderness|Annakarl]] (::nexmulti) | | |West of [[Wilderness|Annakarl]] (::nexmulti) |
| Line 61: |
Line 55: |
| |<center>470</center> | | |<center>470</center> |
| | | | | |
| | | | |{{Single}} |
| |} | | |} |
| [[File:nexspawns.png|487px]] | | [[File:nexspawns.png|440px]] |
|
| |
|
| ==Fight overview== | | ==Fight overview== |
| Line 76: |
Line 70: |
| * [[File:Wrath overhead.png|link=]] '''Wrath''' - An overhead prayer in which Nex shouts {{overhead|Taste my wrath!}} This is a stronger version of Retribution, and deals up to 50 damage to players within a 5x5 radius of Nex upon her death. Players have three seconds after her death to run away from her Wrath attack. | | * [[File:Wrath overhead.png|link=]] '''Wrath''' - An overhead prayer in which Nex shouts {{overhead|Taste my wrath!}} This is a stronger version of Retribution, and deals up to 50 damage to players within a 5x5 radius of Nex upon her death. Players have three seconds after her death to run away from her Wrath attack. |
|
| |
|
| | ===Scrolls=== |
| | The following [[scrolls]] can be used at Nex. |
| | {| class="wikitable uncolapsable align-left-3 align-center-4" |
| | ! colspan="2" |Scroll |
| | ! colspan="1" |Explanation |
| | !Price |
| | |- |
| | |{{Plinkt|Double Time scroll (1 Hour)}} |
| | |This scroll will make you '''roll twice''' on any monster drop table in the next hour. |
| | |{{BHP}} {{PriceShop|Double Time scroll (1 Hour)}} |
| | |- |
| | |{{Plinkt|The Boss scroll (1 Hour)}} |
| | |This scroll will make you deal '''10%''' more damage on all monsters and will heal you '''10%''' of every damage you deal. |
| | |{{BHP}} {{PriceShop|The Boss scroll (1 Hour)}} |
| | |- |
| | |{{Plinkt|Wilderness Warden scroll (1 Hour)}} |
| | |This scroll will make '''wilderness monsters deal 25% less damage and deflect 25% of the damage back.''' |
| | |{{BHP}} {{PriceShop|Wilderness Warden scroll (1 Hour)}} |
| | |- |
| | |{{Plinkt|Double Drops scroll (1 Hour)}} |
| | |Any PvM drop you receive during the next hour while using this scroll will be doubled (2X). This includes [[Slayer training|Slayer Monster]] and [[Pk point|Pkp]] drops. Works against any monster in-game. |
| | |3,000 [[Daily task]] Points |
| | |- |
| | |{{Plinkt| Resilience scroll (1 Hour)}} |
| | | All monster '''damage''' you receive will be '''reduced by 50%''' during the entirety of the next hour. |
| | |800 [[Daily task]] Points |
| | |- |
| | |} |
| | ==Money making== |
| | The following [[money making guide]]s are available for Nex: |
| | {| class="wikitable sortable align-left-1 align-right-2 align-center-3 align-center-4" style="text-align:right;" |
| | !Method |
| | !colspan="1" | Hourly profit |
| | !Category |
| | !Intensity |
| | |- |
| | |[[Money_making_guide/Killing_Nex|Killing Nex]] |
| | |{{Coins|118,397}} |
| | |Combat/High |
| | |High |
| | |- |
| | |} |
| ==Equipment== | | ==Equipment== |
| The easiest way to fight Nex is to camp Ranged with the best crossbow you can get your hands on. Keep in mind that while Armadyl IS technically better than Karil's or Ancient d'hide, it's far less cost effective and you're better off saving to upgrade to void and skipping the Armadyl armour altogether. The most important stats are your Ranged attack, Ranged strength, Magic defence, Crush defence, and Prayer bonus. | | <tabber> |
| | Ranged = |
| | The easiest way to fight Nex is to camp Ranged with the best crossbow you can get your hands on. Keep in mind that while Armadyl IS technically better than Karil's or Ancient d'hide, it's far less cost effective and you're better off saving to upgrade to void and skipping the Armadyl armour altogether.</br> The most important stats are your Ranged attack, Ranged strength, Magic defence, Crush defence, and Prayer bonus. |
|
| |
|
| '''{{Colour|red|Warning}}: This boss is located deep within the Wilderness, beware of player-killers! Do not bring items you are not willing to lose.''' | | '''{{Colour|red|Warning}}: This boss is located deep within the Wilderness, beware of player-killers! Do not bring items you are not willing to lose.''' |
| Line 114: |
Line 152: |
| }} | | }} |
|
| |
|
| | ==Inventory== |
| | {{Inventory|align=right |
| | |1=Divine bastion potion(4) |
| | |2=Sanfew serum(4)|3=Sanfew serum(4)|4=Sanfew serum(4) |
| | |5=Royal seed pod|6=Anglerfish|7=Sanfew serum(4)|8=Stamina potion(4) |
| | |9=Dinh's bulwark|10=Anglerfish|11=Saradomin brew|12=Saradomin brew |
| | |13=Phoenix necklace|14=Anglerfish|15=Saradomin brew|16=Saradomin brew |
| | |17=Looting bag|18=Anglerfish|19=Saradomin brew|20=Saradomin brew |
| | |21=|22=Anglerfish|23=Saradomin brew|24=Saradomin brew |
| | |25=|26=Anglerfish|27=Cooked karambwan|28=Cooked karambwan}} |
| | <references/> |
| | The following items are optional: |
| | |
| | *Dinh's bulwark (optional, but helps with tanking) |
| | *Phoenix necklace (optional, for switching with Dinh's and emergency healing whilst tanking) |
| | *Stamina potion (optional) |
| | *Looting bag (optional) |
| | *Best food (Dark crab or better) |
| | *3-4 Saradomin brews (optional) |
| | *Tank legs/top |
| | </tabber> |
| ==Drops== | | ==Drops== |
| The Nex drop table includes the Torva Armour, Zaryte Crossbow, Ancient Godsword & Zaryte vambraces.
| | {{Dropbonus}} |
| | |
| You will receive a hidden '''20% drop boost''' if you're '''skulled''' while killing Nex!
| |
| | |
| {{NexDrops}} | | {{NexDrops}} |
| | ---- |
| | {{Bosses}} |


